Hey hey, and good morning world! It is time for a brand new installment of the Basics! Today we'll be talking one of the most difficult steps in your make up routine: Eyeliner. After having applied your
base, after you have
contoured your face and
applied your eyeshadow, it is time to get down with the eyeliner.
There are tons of different sorts of eyeliner. Kohl pencils, gel liners, liquid liners etc. Today I will show you two different, and probably the most common ones: Kohl Liner and Gel liner.
Let's start of with the easiest one: Kohl liner. Kohl liner is the most subtle version of eyeliner since it is a pencil which is matte in it's finish and usually not as sharp as for example liquid liner or gel liner. Depending on your eye shape you apply your kohl liner starting from the middle of your eyelid and work it outwards. If you find it difficult to apply, it might help to gently pull your eyelid to the side to make the surface more flat. Don't try to apply the eyeliner in one go, try to make short stripes. All together this will make a smooth line in the end, but it makes the application a lot easier.

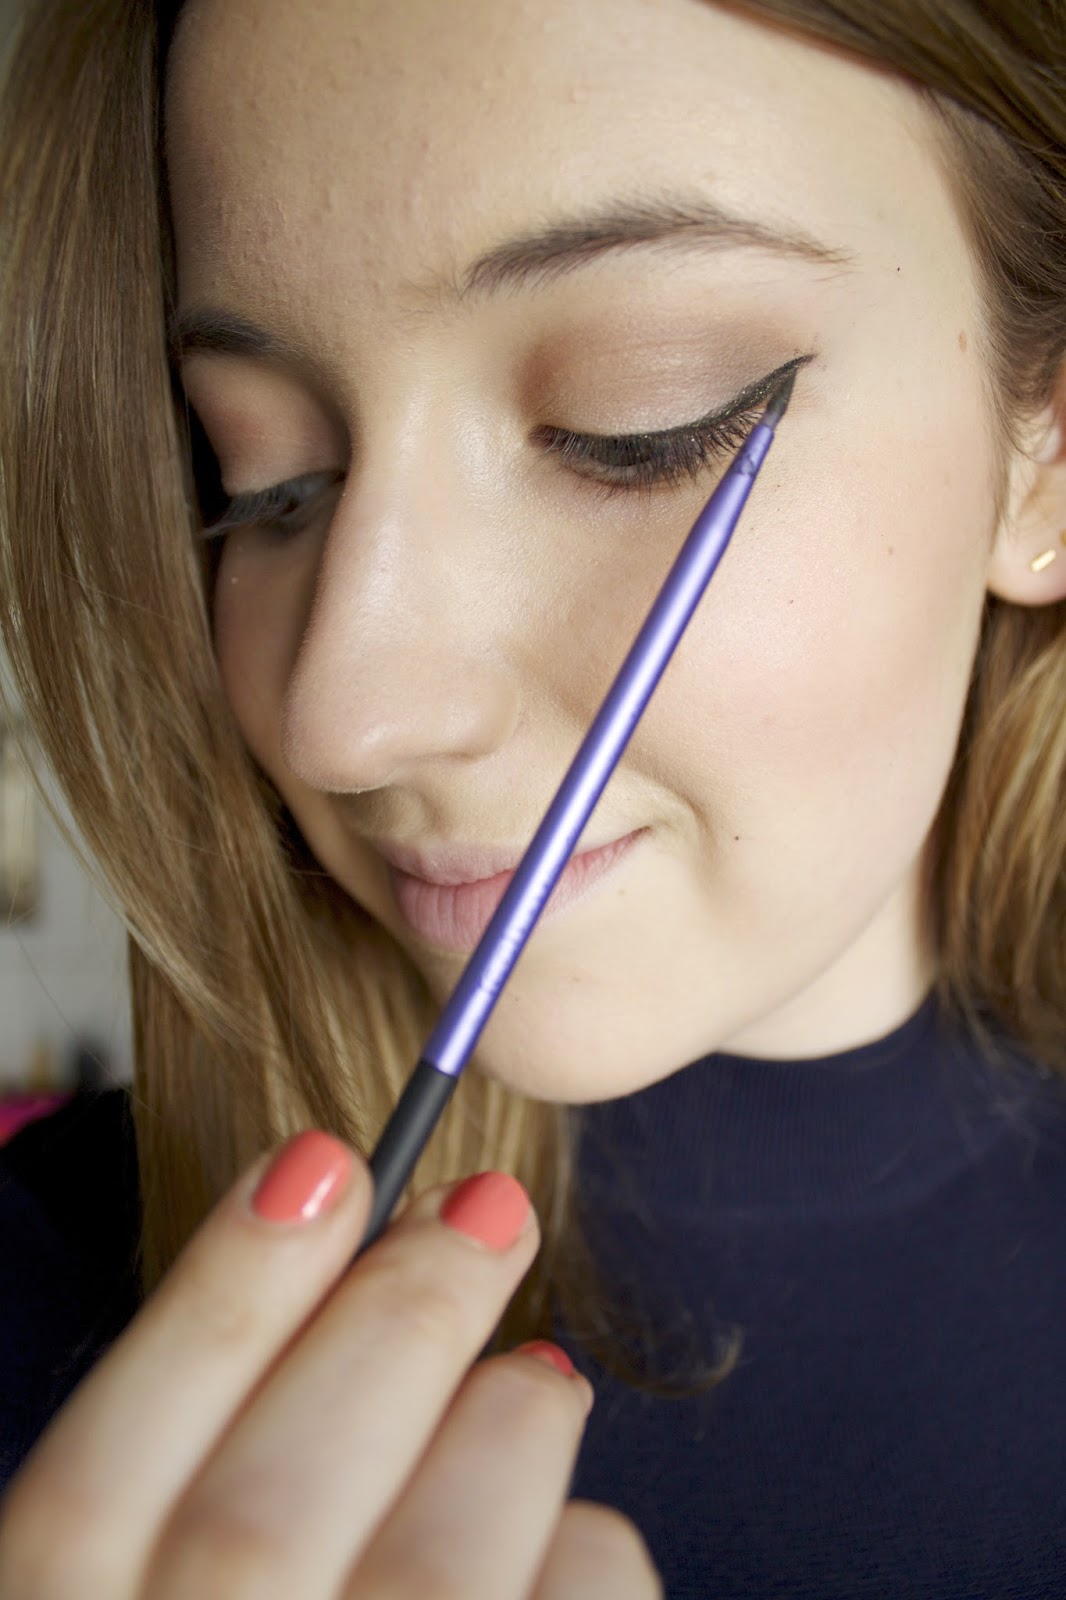
Next up is the gel liner. You can choose to apply this with an angled brush, but I prefer to apply this with a pencil brush. The brush I am using is the Silicone Liner brush by Real Techniques. You dip your brush in the little pot, and you start the same as with the kohl liner. For this liner you will not be able to apply this in one go either. Make short strokes to add up to a smooth line.
Now here comes the 'difficult' part. The flick. You have to visualize a line starting from your lower lash line towards the end of your eyebrow. This is where your flick should be placed. If you find it difficult, you can use a sticky note or washi tape, to create a guideline. First you place a short line where you want to place your flick. Than starting from the top of that line, you take your liner back to your original line, and you basically fill in the little triangle you have created.
Voila! Most difficult step of your eye look is done. Practice makes perfect for this step, the more you do it, the better it will look. And I can guarantee you, that you'll start to think it's not so difficult yourself after a while.
Stay tuned the next installment of the Basics where I'll be showing you how to create a perfect nude lip!


Geen opmerkingen:
Een reactie posten